If you’ve ever embarked on a tiling project, you’ll feel the immense satisfaction of seeing neat perfectly aligned tiles. This transforms your space more spectacularly than ever.
Turn a stack of ceramic tile panels into a stunning wall or floor.
However, the good or bad results will come when you reach the final step: grouting.
Grouting is the necessary finishing step that binds your tiles together and ensures your project will last for years to come.
It’s a key element of every tiling project and mastering this step can be the difference between a beautiful lasting tiling job and one that ends up cracking and crumbling.
So let’s learn about grouting, focusing on the indispensable tool for the job: the grout float.
Related: TILE MASTIC VS THINSET MORTAR
The Grout Float – Your Best Friend in Grouting
If: you’ve meticulously laid your tiles, creating a beautiful pattern or design.
Now, it’s time to fill the gaps between those tiles with grout, forming the grout joints that give your project a unified, polished appearance.
You might think the logical approach is to squirt grout directly into the seams, just as you would with caulk in other areas of your home.
But here’s where tiling differs.
Grouting is not a precision task; “it’s more about broadcasting than laser-targeting“.
Instead of meticulously injecting grout into each seam, you’ll apply it more liberally.
You’ll spread generous mounds of wet grout across the entire tile surface, covering both the seams and the tile faces.
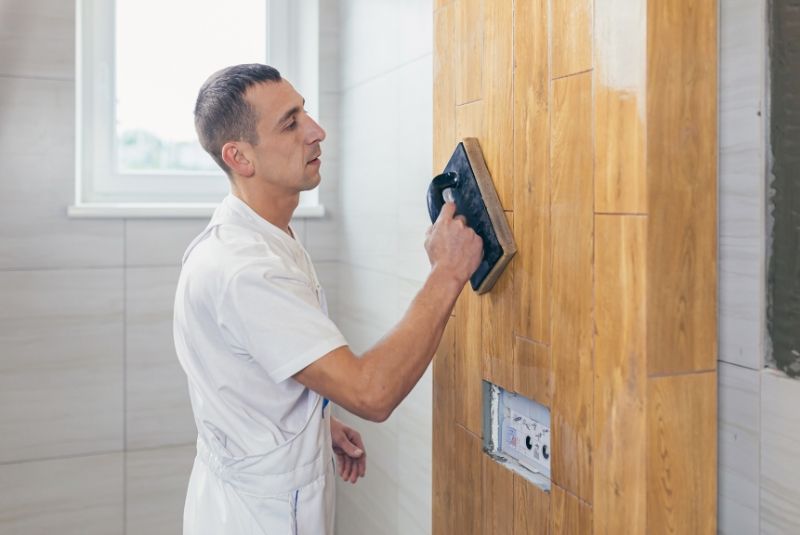
Then, using your trusty grout float, you’ll distribute and embed the grout into the seams while wiping away excess from the tile surfaces.
The key takeaway here is that only a rubber grout float can accomplish this task effectively.
It’s a simple tool consisting of a rectangular, non-stick gum rubber or soft nylon pad, offering both firmness and flexibility to prevent material absorption.
Held by a C-shaped handle, it simplifies the process of filling joints with fresh grout and cleaning tile surfaces of excess grout.
Related: SAVE MONEY AND TILES: THE DIY APPROACH TO FIXING CRACKED TILES
Using Your Grout Float Like a Pro
Here’s a step-by-step guide to using your grout float for a seamless tile grouting experience:
1. Add Grout to Tile Face:
Begin by adding a small amount of grout to the face of one tile, about the size of a 3 to 4-inch diameter ball.
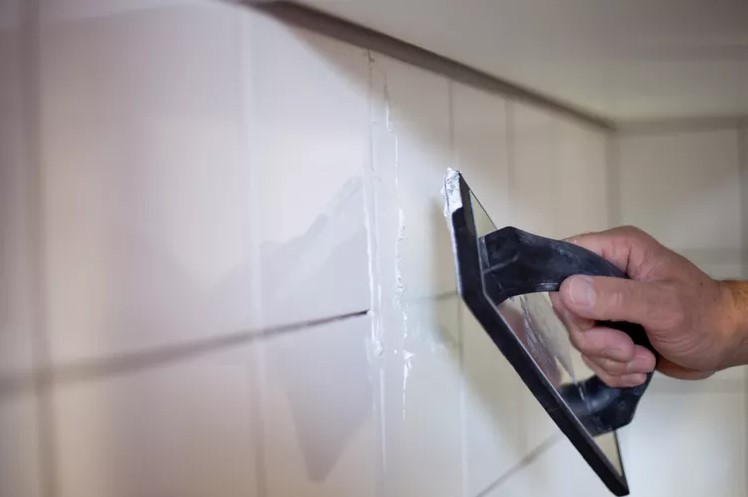
2. Sweep Float at a 45-Degree Angle:
Hold the grout float at roughly a 45-degree angle, with one edge on the top of the tile face.
Sweep the grout diagonally across the tiles in sections of about 3-foot by 3-foot.
This angle ensures the float passes over the tile seams at a 45-degree angle to prevent pulling grout out of the seams.
3. Scrape Grout at Nearly 90-Degree Angle:
With the grout float held almost perpendicular to the tile, scrape across the tile to remove excess grout.
You may need to make multiple passes, still sweeping diagonally across the seams.
Any excess grout is deposited back into your grout bucket for use in the next section.
4. Wipe Down Tile:
Transition to a tile sponge, soaking it in clean water and wringing it out.
Gently pass the damp sponge over the tile surface, moving diagonally across the seams.
Use multiple buckets of clean water to keep your sponge free of grout. Be cautious not to pull grout from the seams.
Floor vs Wall Grout Floats
Rubber grout floats come in two types: wall floats and floor floats.
Wall floats have softer rubber pads compared to the stiffer pads on floor floats.
Wall floats are generally easier to use and better for reaching into corners, making them an excellent choice for beginners.
Some tools in stores may not specify wall or floor use, so compare the softness of the pads to identify the type.
Quality floats are worth the investment, especially for larger tile jobs or future tiling projects.
Related: HOW TO CUT PORCELAIN TILE
Grout Float Troubleshooting
- Grout Keeps Getting Pulled Out: Move the grout float diagonally over the grout joints to prevent it from sinking into the seams and pulling out grout. In some situations, you may have to work parallel to joints with care.
- Grout Smears Across Tiles: When grouting floor tiles, hold the float at a 45-degree angle to the tile surface for standard results. A lower angle works well when tiling walls. Adjust the angle as needed for problematic sections.
- Grout Remains on Tiles: After filling grout joints in a work area, make a second pass with the float to remove excess grout from tile faces. Hold the float at a steep angle of about 80 to 85 degrees to clean tiles without disturbing grout in the joints.
- Haze Remains on Tiles: Leave grout haze removal for later. A rubber grout float removes excess grout but usually leaves a chalky film. You can clean this haze later with a haze remover and a clean sponge.
Remember, grouting is the final act that brings your tiles to life.
With the right techniques and your trusty grout float, you can achieve a stunning, long-lasting tile installation every time.