When it comes to tile grout, the color may change over time due to dirt, mold, and mildew buildup.
If you’re looking to refresh your tile or simply want a new look, changing the grout color can make a significant difference.
This guide will walk you through the process of changing the color of your grout without having to replace the tiles.
Recoloring vs. Replacing Grout
Recoloring Grout
- Suitable for all tiles except stone.
- Grout remains in place.
- Ideal for light to dark color changes.
- Does not address grout problems.
- Relatively easy to do.
- Minimal risk to tiles.
Replacing Grout
- Suitable for all tiles.
- Requires grout removal.
- Allows any color change.
- Offers a complete fix for grout problems.
- More challenging.
- Risk of damaging tiles during removal.
Tools and Materials You’ll Need
For Recoloring Grout:
- Small scrub brush
- Sponge
- Bucket
- Colorant brush (or toothbrush)
- Grout cleanser
- Grout colorant
- Painter’s tape (optional)
For Replacing Grout:
- Grout saw or multi-tool with grout blade
- Breathing protection
- Eye protection
- Small flat-head screwdriver
- Utility knife
- Shop vacuum
- Stiff scrub brush
- Mixing bucket
- Mixing trowel
- Grout float
- Grout sponge
- Foam paintbrush
- Plastic sheeting or drop cloths
- Grout pigment
- Microfiber cloths
- Grout sealer
How to Change Grout Color with a Colorant
1. Scrub the Grout Lines

- Use a commercial grout cleaner to thoroughly scrub the grout lines with a small stiff scrub brush.
- Rinse and neutralize the cleaner with clear water, wiping it over the tiles with a sponge.
Tip: Follow the grout colorant manufacturer’s recommended grout cleaner for this step.
2. Test the Colorant
- Find an inconspicuous spot on the tiled surface to test the colorant.
- Apply the colorant to a few inches of grout, then let it dry as directed.
- Ensure the colorant dries to a hard finish and withstands light scrubbing without flaking.
Note: If the colorant doesn’t perform well, consider trying a different type.
3. Clean and Rinse
-
- Use a sponge and water to clean and rinse the tile and grout thoroughly.
- Allow the tile and grout to dry overnight before proceeding.
4. Mask Off the Tile Surfaces (Optional)
-
- Tape off the tile faces with painter’s tape, leaving only the grout lines exposed.
- Work in small sections to prevent staining on unsealed tile faces.
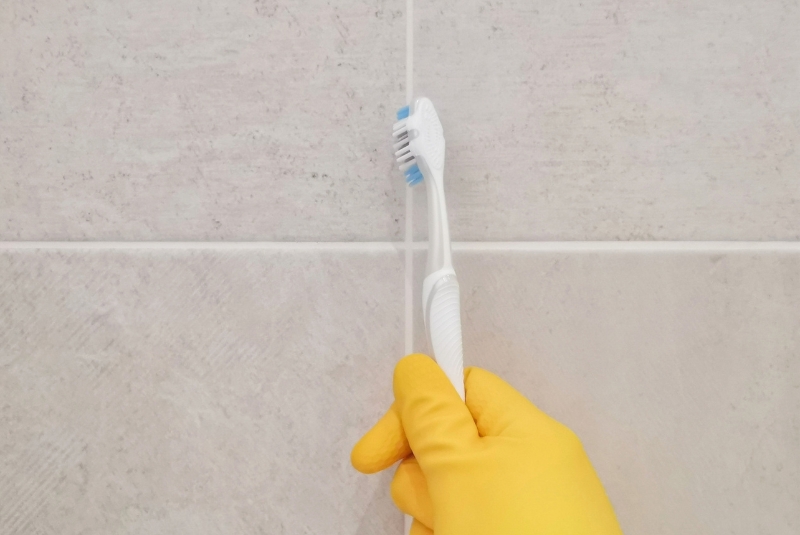
5. Apply Colorant

-
- Apply grout colorant with a small stiff brush or a pen loaded with grout dye as per the manufacturer’s instructions.
- Work the colorant into the grout, avoiding excessive colorant on tile faces.
- Use a toothbrush for precise application.
6. Wipe Off Excess Colorant

-
- While the colorant is still wet, wipe off any that gets onto the tile faces.
- For well-glazed tile, some products can be scrubbed off with a nylon-faced sponge up to two hours later.
7. Seal, if Necessary
- Let the grout dry completely as per the manufacturer’s instructions.
- Some colorant products include sealer, while others require top-coating with sealer after drying.
Note: Sealing prevents future discoloration and may slightly darken and shine the grout lines.
How to Change Grout Color by Removing and Replacing It
1. Choose Suitable Grout
-
- Select new grout suitable for your tile installation.
- Unsanded grout is for joints under 1/8-inch wide, while sanded grout is for wider joints.
- Epoxy grout is ideal for applications like steam showers.
2. Protect the Work Area
-
- Cover floors and furniture with plastic sheeting or drop cloths to safeguard surfaces.
3. Remove Old Grout
-
- Use a grout saw or multi-tool with a tile blade to remove the old grout.
- Clean up tile edges and tight spaces with a small flat-blade screwdriver and utility knife.
4. Inspect the Tiles
-
- Ensure tiles are securely attached to the substrate by tapping them with a screwdriver’s plastic backside.
- Loose tiles may need replacement if grout lines are crumbly.
5. Remove Grout Particles
-
- Use a shop vacuum with a flat nozzle attachment to remove grout particles from between the tiles.
- Scrub grout lines with a stiff brush as you vacuum to dislodge loose particles.
6. Add Pigment to Grout Mix (Optional)
-
- Customize grout color by adding pigment to the grout mix and blending thoroughly.
7. Apply the Grout
-
- Mix and apply the grout according to the manufacturer’s instructions.
- Grouting involves filling joints, removing excess, and cleaning tile faces using a grout float, grout sponge, and microfiber cloths.
8. Let the Grout Cure
-
- Allow the grout to fully dry and cure, following the manufacturer’s recommendations, which may take up to three days.
9. Seal Grout

-
- Seal the grout after full curing if recommended by the manufacturer.
- Sealer helps prevent stains and discoloration, slightly darkening and adding shine to the grout.
Changing your grout color can breathe new life into your tile installations.
While the process can be a bit tedious, the results are well worth the effort.
If you feel uncertain about tackling this project yourself, consider hiring a professional tile installer to ensure a flawless outcome.